Lighting is the most crucial factor in photography
It influences exposure, color, contrast, texture, and the overall mood of an image. But what exactly makes lighting “good” or “bad” in photography? Is there truly such a thing as bad light, or is it just a matter of understanding how to work with what’s available?
In this article, we’ll explore the differences between good and bad lighting, common challenges photographers face, and how you can use any type of light to create stunning images.
What is Good Lighting in Photography?
Good lighting enhances your subject and helps convey the desired mood and story of an image. It is soft, flattering, well-balanced, and highlights important details while minimizing distractions. Here are some characteristics of good lighting:
- Soft and Diffused Light
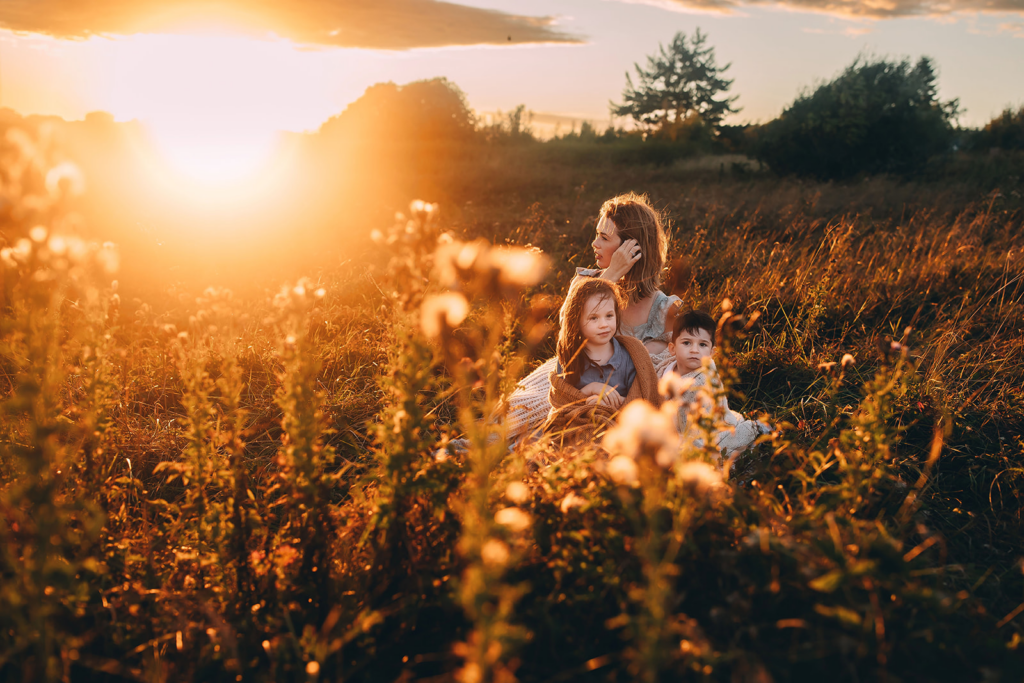
Soft light is achieved when light is scattered, reducing harsh shadows and creating a more even illumination across the subject. This is commonly found during golden hour, on overcast days, or when using diffusers in studio settings.
- Directional Control
Good lighting allows you to control its direction, whether from the side, front, or back, to achieve the desired effect. Side lighting enhances texture and depth, while front lighting minimizes shadows for even exposure.
- Balanced Exposure
Properly exposed lighting prevents blown-out highlights and deep shadows. Achieving balance ensures details are preserved in both the brightest and darkest areas of the image.
- Color Accuracy
The quality of light affects how colors appear in your image. Good lighting produces natural-looking skin tones and accurate color representation, avoiding unnatural color casts from artificial light sources like fluorescent bulbs.
- Enhancing Subject Features
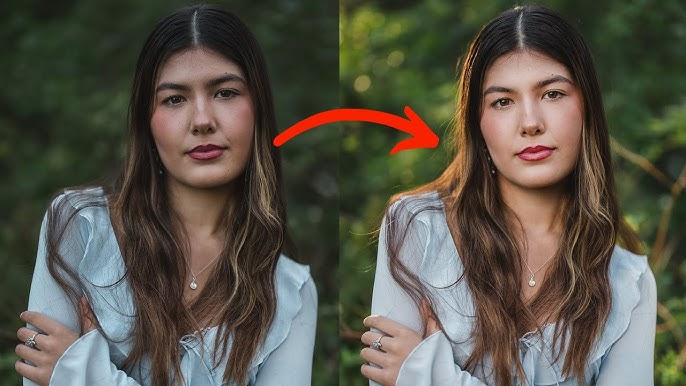
In portrait photography, good lighting highlights facial features and adds dimension without creating unflattering shadows or excessive contrast. Techniques like Rembrandt lighting or butterfly lighting are commonly used to create flattering portraits.
What is Bad Lighting in Photography?
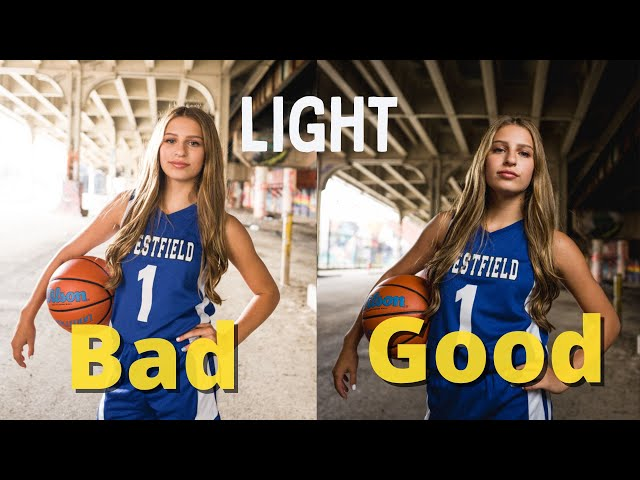
Bad lighting can make an image look flat, unflattering, or overly harsh. However, in many cases, bad lighting simply means challenging lighting—something that can be worked around with proper techniques. Here are some common traits of “bad” lighting:
- Harsh, Direct Light
Harsh light, such as strong midday sunlight or direct flash, creates sharp shadows, excessive contrast, and unflattering highlights. This can lead to squinting subjects, blown-out highlights, and deep, distracting shadows.
- Unwanted Color Casts
Certain artificial lights, such as tungsten bulbs or fluorescent lights, can produce unnatural color casts that affect the appearance of your subject. If not corrected with white balance adjustments, these can make skin tones appear too warm (orange) or too cool (blue/green).
- Uneven Lighting and Shadows
Poorly placed lighting can create unbalanced exposure, leaving some areas too bright while others are in deep shadow. This is often seen when using on-camera flash without diffusion, resulting in harsh shadows behind the subject.
- Flat Lighting
Flat lighting occurs when there is little to no contrast between highlights and shadows, making the image appear dull and lifeless. Overcast skies, while great for soft light, can sometimes create too even of a tone without adding depth.
- Low Light Without Compensation
Shooting in extremely low-light conditions without proper adjustments can lead to underexposed, grainy, or blurry images. Without additional light sources, boosting ISO too high can introduce noise, and slow shutter speeds can cause motion blur.
How to Make the Most of Any Lighting Condition
Since light is constantly changing, learning how to adapt is key to improving your photography. Here’s how you can handle both good and bad lighting situations:
Dealing with Harsh, Direct Light
- Use a diffuser: A scrim, softbox, or even a translucent umbrella can soften direct sunlight or flash.
- Find shade: Positioning your subject in open shade can help reduce contrast and create more even lighting.
- Use a reflector: Bouncing light back onto the subject fills in harsh shadows and creates a more balanced exposure.
- Shoot during golden hour: The light is naturally softer and more flattering in the early morning and late afternoon.
Correcting Unwanted Color Casts
- Adjust white balance: Set your camera’s white balance to match the light source or adjust in post-processing.
- Use color correction gels: If shooting with artificial lights, gels can neutralize unwanted tints.
- Shoot in RAW: This allows for easier color adjustments in post-processing without degrading image quality.
Creating Depth in Flat Lighting
- Add directional light: Use an external flash, LED panel, or natural window light to introduce contrast.
- Modify light placement: Side lighting creates shadows that add depth and dimension to the image.
- Enhance in post-processing: Adjust contrast and highlights in Lightroom or Photoshop to bring out depth.
Improving Low-Light Photography
- Use a tripod: This stabilizes your camera for longer shutter speeds without motion blur.
- Increase ISO (within limits): A higher ISO helps capture more light, but be mindful of noise levels.
- Open up the aperture: A wider aperture (low f-stop) allows more light into the camera.
- Add artificial light: Using an off-camera flash or LED panel can illuminate your subject without relying on ambient light.
Can Bad Light Ever Be Good?
Interestingly, what’s traditionally considered “bad” light can sometimes create unique and compelling images. For example:
- Harsh midday sun can create dramatic high-contrast images and striking shadows.
- Strong backlighting can result in artistic silhouettes.
- Colored artificial lights can add mood and atmosphere to urban or street photography.
- Low-key lighting in dim environments can create dramatic, moody portraits.
Photography is about creativity and adaptation. By learning to work with different types of light, you can turn a challenging lighting situation into an artistic advantage.
Final Thoughts
Good lighting is all about understanding how light interacts with your subject and knowing how to manipulate it to achieve the desired effect. While some lighting conditions may seem challenging at first, with the right techniques, you can turn any light into an opportunity for creativity.
Mastering lighting takes practice, but once you learn to control and modify light to your advantage, you’ll have the power to create stunning images in any condition. Whether you’re working with soft golden hour light or battling the harsh midday sun, great photography is less about perfect conditions and more about knowing how to work with what you have.
Looking to improve your lighting skills? Book a photography session with Mems by Em today and capture beautifully lit moments that last a lifetime!