Turning Moments Into Mems
Every person deserves to have moments in life captured beautifully—whether it’s a birthday, a fresh chapter in life, or simply the desire to feel confident in front of the camera. As a portrait photographer, I’ve seen firsthand how thoughtful planning can turn a regular shoot into an unforgettable experience.
This guide walks you through how to plan a photoshoot that captures your essence—from the first idea to the final edited images. Whether you’re booking your very first session or looking to level up your next one, you’ll find everything from outfit tips to editing insights. Let’s turn your vision into timeless memories.
1. Start With the Purpose & Feel
Before diving into logistics, the first step is understanding the why behind your session. Portrait photography is personal—it’s about telling a story, evoking emotion, or capturing a season of life. Whether you’re celebrating a milestone or documenting a special connection, this clarity shapes the direction of your shoot and helps ensure every detail reflects your unique story.
Ask yourself:
- What story do I want these photos to tell?
- Who will be in the shoot?
- Where will these photos live (social media, website, printed album, holiday cards)?
Your purpose becomes the foundation for every decision moving forward. For example, if your goal is branding photos for your small business, your shoot might include props, location styling, and wardrobe choices that represent your brand colors and personality. But if you’re celebrating a new baby or just want updated family portraits, the vibe might lean more candid and intimate.
Define Your Vibe
After nailing down your purpose, it’s time to choose your vibe. This is the emotional tone that will guide your entire shoot—from location to wardrobe to posing. Think about the feeling you want your photos to evoke. Is it playful and carefree, warm and sentimental, sleek and modern? Your chosen vibe becomes the heartbeat of the session, setting the mood for everything that follows. Do you envision:
- Whimsical and dreamy (great for couples or seniors)
- Warm and nostalgic (perfect for fall family sessions)
- Clean and modern (ideal for professionals or influencers)
Not sure which direction to go? You don’t have to figure it out alone. The Mems by Em Portfolio is full of past sessions that showcase a range of styles and moods. From dreamy sunset fields to vibrant downtown scenes, you can explore different looks and find inspiration that feels true to you.
2. Location Matters (More Than You Think)
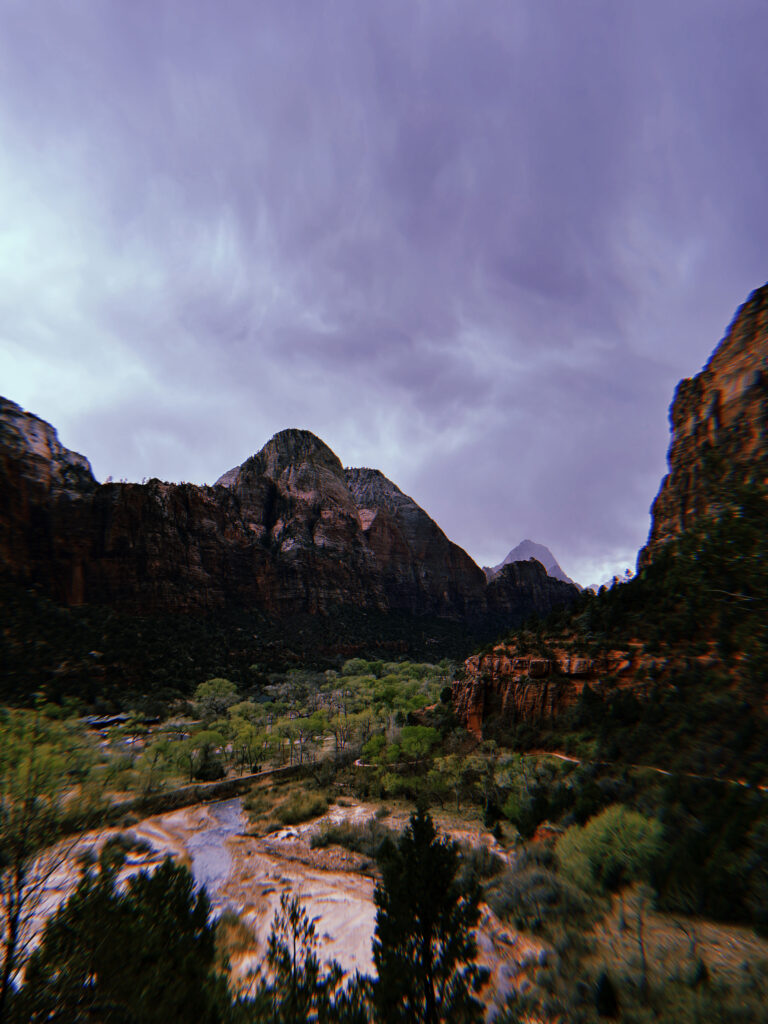
Your location is more than just a background—it’s a storytelling element in its own right. A well-chosen spot sets the mood, enhances your overall vibe, and brings out the emotion you want your photos to reflect. Whether it’s a golden field at sunset, a cozy urban corner, or a misty mountain overlook, the right setting can turn a beautiful photo into something truly unforgettable.
Factors to Consider When Choosing a Location:
- Lighting: Golden hour—those magical 60–90 minutes before sunset—is universally flattering. It casts a soft, warm glow and minimizes harsh shadows.
- Seasonal Accessibility: Some outdoor spots are breathtaking in spring but inaccessible in winter. Think ahead based on your session date.
- Privacy: Busy public parks or downtown areas can add stress. Sometimes, a quiet nature trail or a friend’s backyard is the better choice.
- Visual Variety: Locations with multiple “looks” (open field, wooded path, rustic fence, etc.) give us more flexibility during your shoot.
Need inspiration? I’ve got you covered. Check out my blog post on the The Ultimate Guide to Photography Locations in Utah County—it’s filled with ideas for every season and style. I also include some hidden gems for those who want something a little more unique and off the beaten path. It’s all about finding the perfect place that feels like you.
3. What to Wear (Without the Stress)
Let’s be real—outfit planning is the thing that tends to stress people out the most. The pressure to “look good on camera” can feel overwhelming, especially when coordinating multiple people or trying to match a certain aesthetic. But here’s the truth: you don’t need a closet full of new clothes or the trendiest styles to look amazing in your photos. What matters most is that you feel comfortable, confident, and like yourself.
My go-to outfit advice:
- Keep it coordinated, not matching: Choose 2–3 complementary colors (think earthy tones, soft blues, or neutral creams).
- Avoid distractions: Steer clear of logos, neon colors, or overly busy patterns—they can pull attention away from your face.
- Comfort is key: If you feel awkward in your outfit, it will show. Choose clothes you can move and laugh in.
- Add texture and layers: Linen, denim, soft knits, hats, scarves, and jackets photograph beautifully.
- Bring options: A quick outfit change mid-session adds variety to your final gallery.
If you’re not sure where to start, I’ve got you covered. I offer personalized wardrobe consultations with every session to take the guesswork out of it. We’ll talk through your shoot’s vibe, color palette, and location, and I’ll even put together a mini Pinterest board with outfit ideas tailored just for you. It’s all about helping you feel prepared and excited before you ever step in front of the lens.
4. The Must-Have Photoshoot Checklist
A solid checklist ensures a smooth shoot, whether you’re wrangling toddlers, prepping for a brand session, or just want to feel confident and organized. Taking time to prep ahead means you can fully enjoy the moment without worrying about forgotten items or last-minute stress.
Even candid, carefree photos benefit from thoughtful planning. With the basics covered, you’re free to relax, move naturally, and create genuine memories—because the best photos happen when you’re truly present.
Client Checklist:
- Confirm date, time, and location
- Try on outfits in advance (including shoes)
- Pack extra clothes if needed
- Bring water, wipes, tissues, snacks
- Plan hair and makeup (professional or DIY)
- Pack props if relevant (picnic blanket, bouquet, graduation cap)
Photographer Checklist:
- Charge all batteries and bring extras
- Format memory cards
- Print or load your shot list
- Bring backup gear
- Pack an emergency kit: safety pins, bobby pins, lint roller, bug spray, tissues
- Check the weather forecast and have a backup plan
Want a printable version? Shoot me a message on my contact page and I’ll send it your way—trust me, it makes a difference!
These simple prep steps help turn a good shoot into a great one. When the little things are taken care of ahead of time, you get to focus on what really matters—being present, creating connection, and capturing memories you’ll treasure for years to come.
5. Communicate, Communicate, Communicate
One of the biggest keys to a successful session? Clear communication. It might seem like a small detail, but it sets the tone for the entire experience. Whether you’re planning a solo shoot or coordinating a big family session, making sure everyone knows what to expect—from the location and timing to outfit suggestions and overall vibe—helps things run smoothly and keeps stress levels low. When everyone’s on the same page, the energy is more relaxed, the experience feels more intentional, and you’re free to focus on enjoying the moment and capturing authentic memories.
Before the Session, I Recommend:
- Sending a calendar invite with time, date, and location
- Sharing outfit guidance and sample palettes
- Outlining what to expect (style of photography, flow of session, etc.)
- Answering common questions (e.g., “Can we bring our dog?”)
I also send a “What to Expect” email 48 hours before your session—it sets the tone and eases nerves, especially for first-timers.
6. The Day of Your Shoot: Keep It Light & Fun
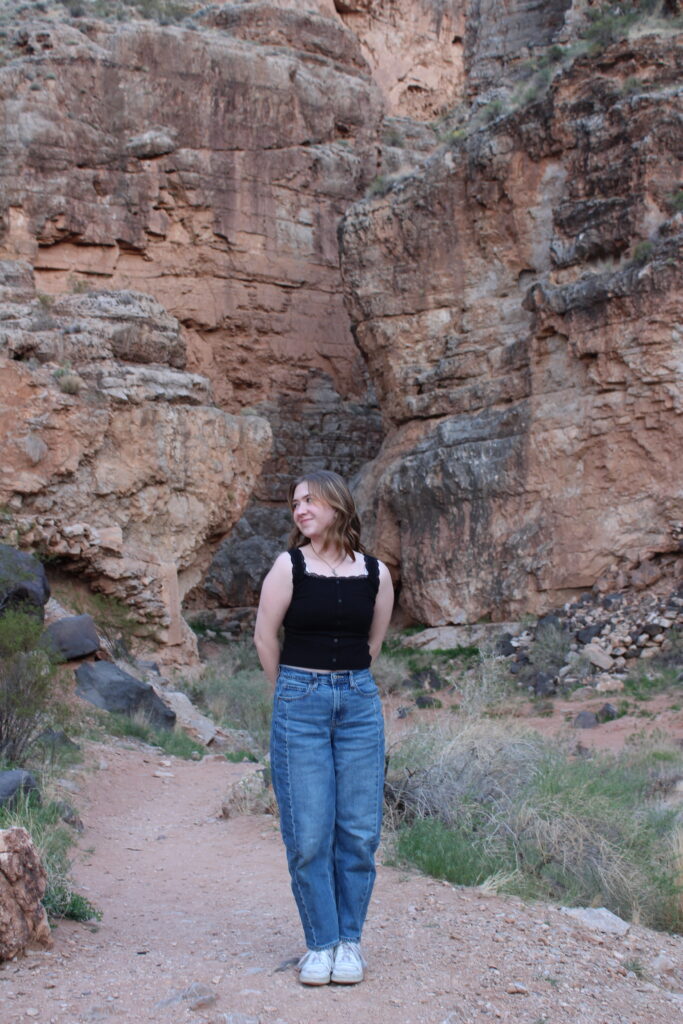
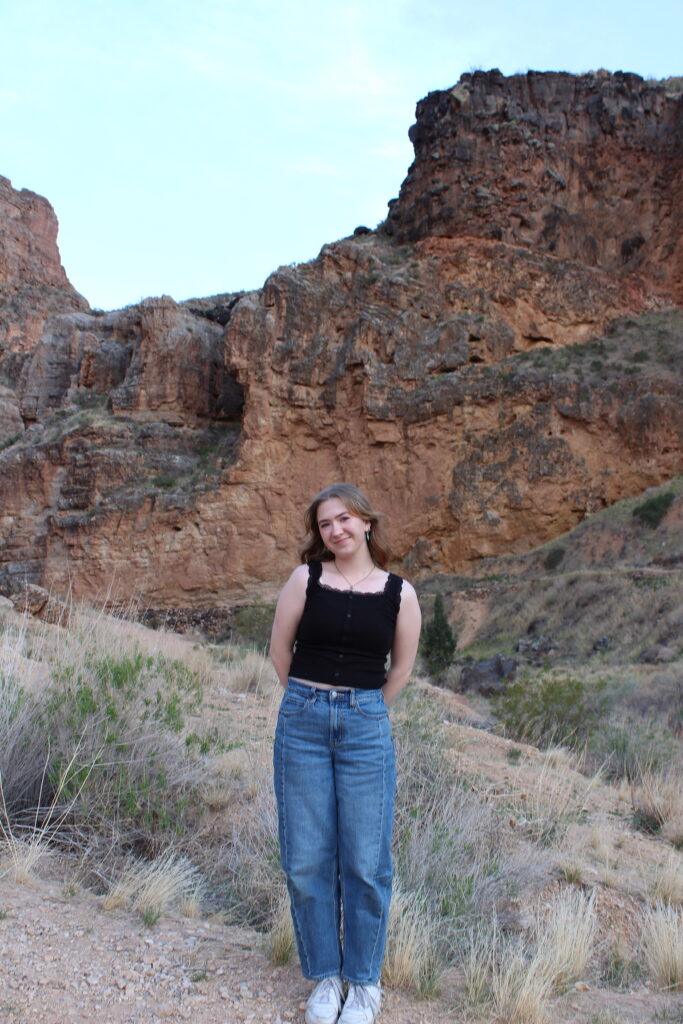
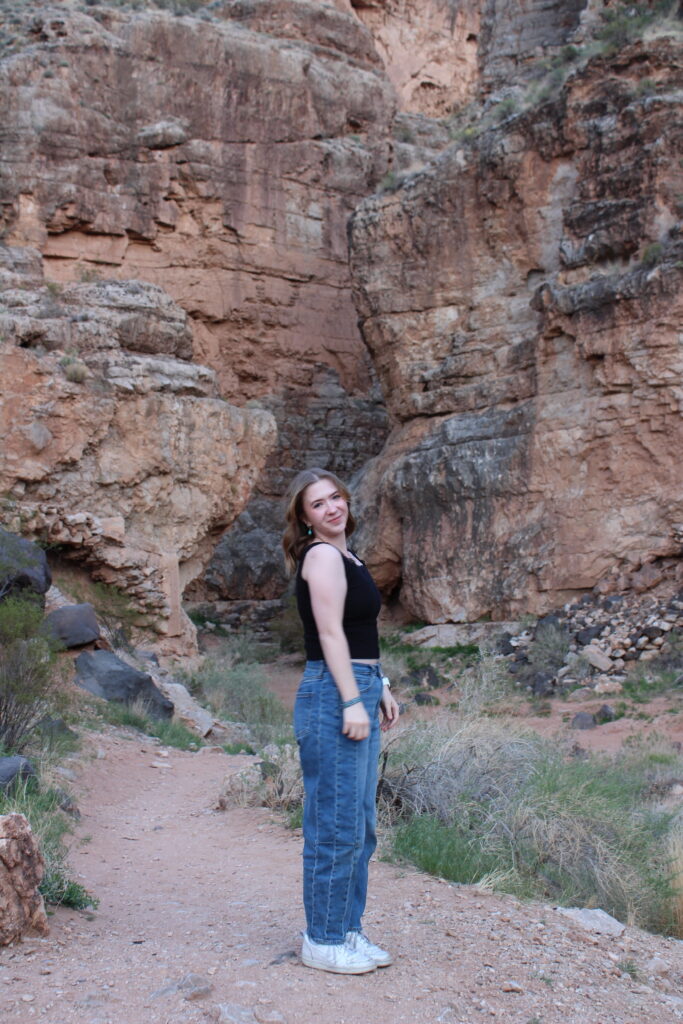
This is the moment where the magic happens—and it should feel like fun, not work. Whether we’re exploring downtown St. George or hiking through a wildflower meadow, my goal is always to create a relaxed, easygoing atmosphere where you can be yourself. When you feel comfortable, the most authentic, heartfelt moments naturally unfold.
Day-of Tips:
- Arrive early (rushing = stress!)
- Play your favorite playlist during the shoot
- Be open to movement, laughter, and spontaneity
- Don’t stress about “perfect”—we’re after connection
- Let go of expectations—trust the process
Some of my favorite sessions have happened in the most unexpected circumstances. I’ve captured magic in the middle of a rainstorm, and seen kids go from meltdowns to pure joy in a matter of minutes. It’s a reminder that perfect conditions aren’t what make a great photo—it’s the real moments in between that truly shine.
7. After the Shoot: Choosing, Editing & Sharing
Once we’ve wrapped your session, I head into the editing studio (okay—my computer, usually with a cozy drink in hand). This is where your images truly come to life. I carefully sort through every shot, selecting the best moments and adding just the right amount of polish to reflect the mood and vision we created together.
My Editing Process:
- Culling: I sort through all the footage to find the moments that best capture your story.
- Light Retouching: I enhance lighting, remove minor distractions, and color-correct to match your desired aesthetic.
- Final Delivery: You’ll receive a beautifully curated gallery of web-size and high-res images.
Delivery Timeline:
- Sneak peeks within 2–3 days
- Full gallery within 2–3 weeks (often sooner!)
- Downloadable, shareable, and print-ready images
What to Do With Your Photos:
- Post on Instagram or TikTok and tag @mems.by.em
- Print them for your home, gifts, or keepsakes
- Use them for your business, resume, or portfolio
- Turn them into custom holiday cards or thank-you notes
Not sure what to do with your photos once they’re delivered? You don’t have to let them live on your camera roll. My portfolio is full of creative ideas—like gallery walls, printed gifts, or standout social media posts—to help you showcase your images in ways that feel meaningful and personal.
8. Extra Tips for First-Timers & Shy Clients
Not everyone loves being in front of the camera—and that’s completely okay. You don’t need to be a model or have every pose figured out to get beautiful, meaningful photos. You just need to be you. The most memorable images come from real, unscripted moments—your laugh, your quiet glance, your natural connection with the people around you.
Tips to Feel Comfortable:
- Practice natural poses in the mirror
- Choose a photographer who helps you feel relaxed (hi, it’s me!)
- Wear clothes that you feel confident in
- Focus on the people around you, not the lens
- Don’t force smiles—think about a favorite memory or song
You’d be surprised how many clients show up saying they’re nervous, only to leave saying, “That was actually fun!” My goal is to create a space where you feel comfortable and supported from the moment we start. I’ll guide you with easy, natural prompts and keep things relaxed, so you’re never left wondering what to do. When you can let your guard down and truly enjoy the moment, that’s when the magic really shows up in the photos.
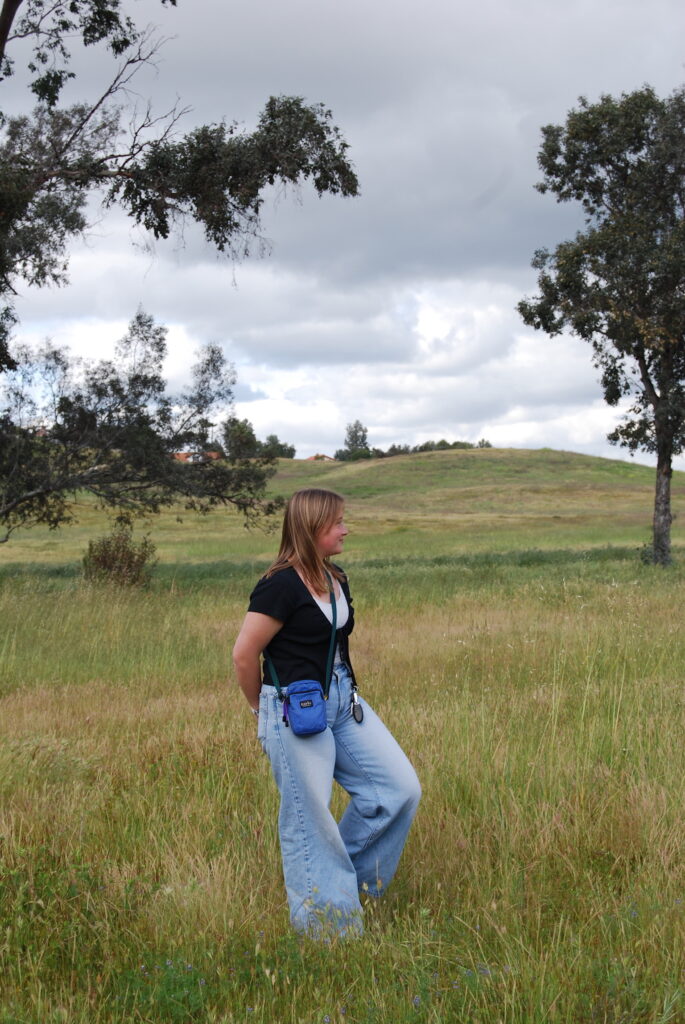
You’ve Got This
Planning a photoshoot can feel overwhelming—but it doesn’t have to be. With a little intention, some creative thought, and a whole lot of fun, you’ll walk away with more than just beautiful images. You’ll have memories that hold emotion, tell a story, and make you smile every time you look back on them. From choosing the perfect location to finding an outfit that makes you feel amazing, every part of the process can be meaningful—and even enjoyable—when done with care.
Whether this is your first photoshoot or you’ve done a few and just want to feel more prepared, I hope this guide gave you a sense of clarity and confidence. My goal is always to make the process feel approachable and exciting, not stressful. You deserve an experience that feels as good as the final photos look.
If you have questions, ideas, or you’re ready to start planning your own shoot, I’m just a message away. Let’s chat, dream up your vision, and turn those moments into lasting mems.
Let’s make something beautiful together.
Start your portrait journey today: head over to my contact page or scroll through more inspiration on the Mems by Em blog.
Want to see what your session could look like? Peek inside the Mems by Em portfolio for ideas, outfits, locations, and all the joyful moments we can create together.